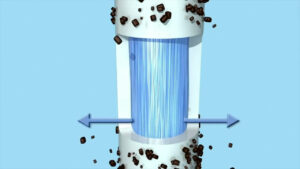
Operating a filter press properly is critical for efficient liquid-solid separation. An optimized process saves time and money while producing clean filtrate and dry filter cakes.
In this step-by-step guide, as a professional filter press manufacturer, I’ll walk you through everything you need to know to safely and effectively run a filter press from start to finish. Whether you’re new to filter presses or just need a refresher, you’ll learn pro tips for trouble-free operation.

How to Operate a Filter Press
Step 1: Inspect the Filter Press Before Use
Before closing and filling the filter press, conduct a thorough inspection to prevent issues down the line. Here’s what to check:
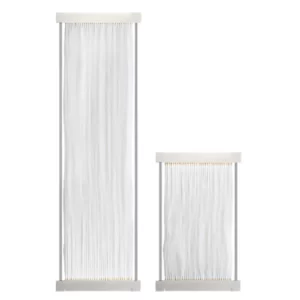
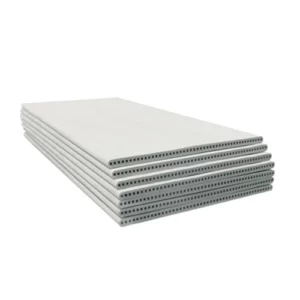
- Filter cloths – Carefully examine the filter cloths on each plate for rips, gaps, or blockages. Faulty cloths will allow solids through or hinder filtrate flow.
- Gaskets and o-rings – Defective gaskets or o-rings can cause leaks. Replace any that are cracked, dry, or misshapen.
- Piping connections – Ensure all pipes and hoses are securely fitted using the proper couplings. Loose connections risk leaks.
- Hydraulic system – On automatic filter presses, inspect piston seals, fluid levels, valves, and pumps. Top up fluids as needed.
- Safety guards – Make sure all safety guards on the press are properly installed. Missing shields put operators at risk.
Address any issues at this stage before attempting to operate the filter press.
Step 2: Align the Plates
If your filter press uses different plate designs, pay special attention to plate alignment.
- Many presses alternate between one-port and three-port plates. This allows air blow drying to work effectively.
- Always double check that plates follow the manufacturer’s recommended sequence before closing the press.
Misaligned plates prevent proper filtrate and air flow, reducing performance.
Step 3: Fully Close the Press
Once plates are confirmed aligned:
- Automatic filter presses – Reverse the hydraulic pump to fully extend the cylinder and clamp plates together at the recommended psi (e.g. 4000 psi).
- Manual filter presses – Pump the hand jack to build pressure and firmly seal plates, using gauges to reach the target psi (e.g. 6000+ psi).
Sufficient pressure prevents leaks between chambers during filtration. Underpressed plates lead to solid particles bypassing the cloths.
Step 4: Set Piping Valves to Fill Position
Before beginning pumping:
- Center pipe – Open inlet and outlet valves.
- Outlet manifold – Close all manifold outlet valves to prevent premature discharge.
- Air line – Close air inlet valve.
These valve adjustments channel the slurry into the chambers for filling while keeping the exits closed yet.
Step 5: Gradually Ramp Up Inlet Pressure
As slurry pumping begins, take care to avoid pressurizing the system too quickly by:
- Starting feed pump at 25 psi.
- Slowly and steadily increasing pressure at even intervals up to 100 psi maximum.
- Listening for reduced pump frequency as chambers fill signaling the press is nearing capacity.
Rushing to high pressure risks cloth damage. Inlet pressure should build gradually allowing filter cakes to form uniformly.
Step 6: Bleed Out Excess Water with Air Blow
Once pumping noticeably slows and chambers are full:
- Stop the feed pump.
- Close inlet and center pipe valves.
- Open manifold outlet valves.
- Open air inlet valve to force blowdown through cakes.
Air blow drying squeezes out moisture yielding drier filter cakes aided by the alternating top and bottom exits between plate designs.
Step 7: Open, Unload, and Rinse the Chambers
Blowdown finishes the active filtration cycle. To unload the press:
- Retract the hydraulic ram or open manual wheel to separate plates.
- Carefully remove filter cakes using spatulas/scrapers provided.
- Rinse cloths, plates, and seals clean using pressurized water.
Avoid damaging cloths and o-rings during cleaning. Cakes release best shortly after blowdown while still warm.
And that wraps up operating a filter press from start to finish! Once rinsed, the press resets for the next batch. Refer back to this guide whenever you need a refresher.
Let me know in the comments if you have any other filter press operation tips! I’m always looking to learn more.